
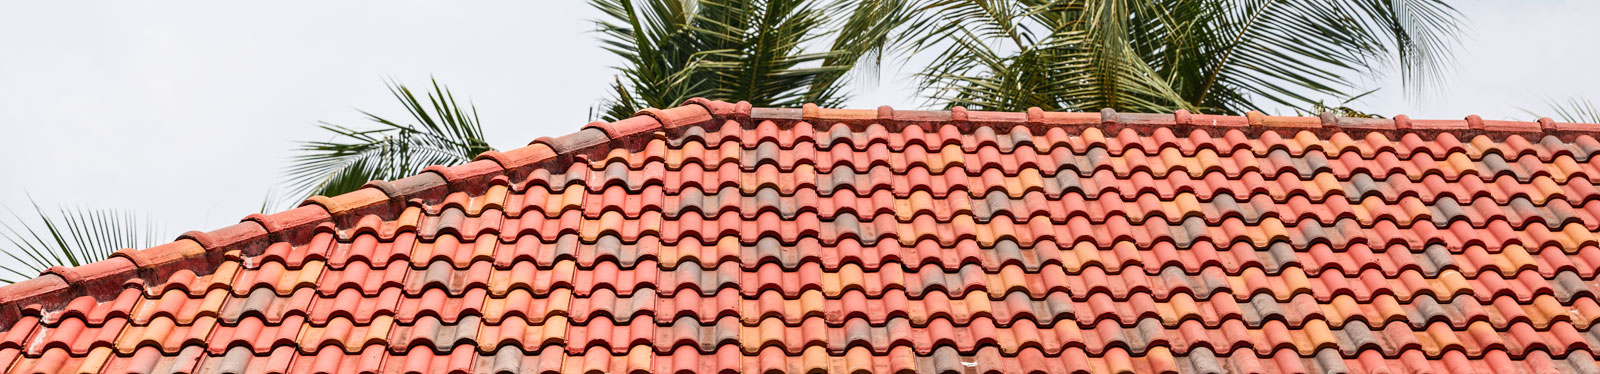

Proper Installation of Roofing Tiles and Fittings provides 100% leak free Roof and give protection from all weather elements for ages.
Pionnier Roofing recommends the following installation Guidelines for Roofing Tiles and Fittings. International codes of Roof tile installations have to the guiding principle. Best Practices adopted in different parts of the country can still be continued. Local climatic conditions should be considered on the design and installation of Roofing tiles
1. Classification of Roof Tile
a) Low Profile Tile – Tiles which have top surface rise of ½”
b) Medium Profile Tile – Tiles having rise to width ratio less than 1:5
c) High Profile Tile- Tiles having a rise to width ratio greater than 1:5
2. Setting out up the Roof
a. The Area between the eave and ridge should be divided into equal tile courses to improve the appearance.
b. The first course ( eave course) of tiles should project over the fascia by 100mm-125 mm for roofs without gutter or it should finish at the centre of the gutter. These tiles should be raised by approx 25mm by an additional reeper/ proper placement of first course of batten.
c. The last course of tiles should be laid in such a way that the ridges overlap the tiles by at least 75 mm
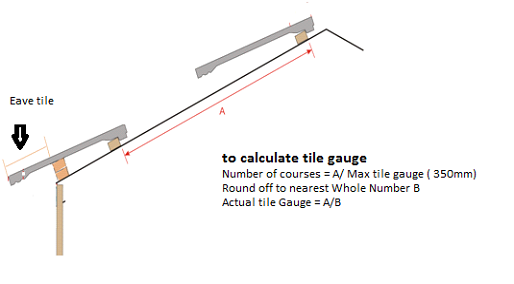
d. Measure the distance A from the first Eave course batten to the batten on the Top Course. Divide ‘A ‘by Maximum tile Course (depends on the slope). Round the figure to the nearest Whole number (downward) – Take it as B, which is the number of courses of battens Batten gauge can be calculated by dividing A by B.
e. Linear coverage should be checked to avoid unnecessary cutting of tiles at gable/ridge line. Eve course to be inspected to ensure barge overhang is equal.
3. Setting out Across the Roof
a) Tiles will have to be laid from the RIGHT to LEFT and from Bottom Right Corner. First the eave course of tile to be laid considering the projection required sidewise. Any adjustment in shunt can be done at this stage to avoid wastage of tile. If Barge tiles are to be used, take care of its overhang and distance from the fascia board.
![]()
Open shunt Closed shunt
b) Tiles can be laid in Cross Bond or Straight Bond. Endurer tiles should be laid in Straight bond. Eterna and Sakura tiles can be laid either in Cross bond or Straight bond.
Straight Joint Cross Joint
c) Roofing Tiles should be laid on the battens in such a way that batten lugs rest tightly against the vertical surface of the battens.
d) Every third tile should be aligned
e) Tiles can be fixed with screws or copper Wire to avoid wind uplift in high windy areas.
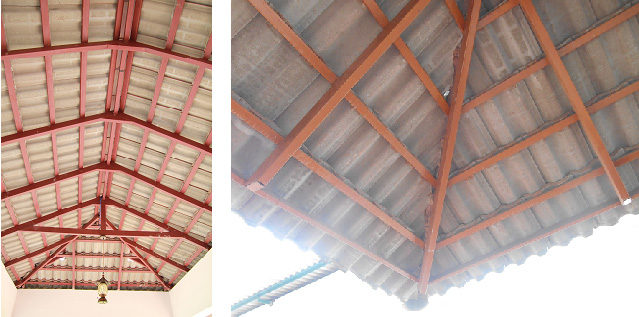
4. Open Roof ( Made of Steel and Timber) Recommended Sizes of Rafters and Reepers
Timber
| Span ( Meters) | Rafter Spacing(mm) | Rafter size (mm) | Reepers (mm) |
|---|---|---|---|
| Up to 3.0 | 600 | 100 x 35 | 50 x 25 |
| 3 to 3.5 | 600 | 100 x 40 | 50 x 25 |
| 3.5 to 5 | 600 | 100 x 50 | 50 x 25 |
| 5.0 to 6.0 | 600 | 125 x 50 | 50 x 25 |
Steel
Due to the scarcity of good timber, Metal Trusses are commonly used now days. All are recommended to use hollow sections based on the structural design. Commonly used measurements are given
| Rafter Spacing (mm) | Rafter size (mm) based on span (min 16 gauge ) |
Reepers (mm) |
|---|---|---|
| 600-900 | 75 x 40 or 100 x 50 | 50 x 25 |
5. Ridge and Hip Area : Ridges can be fixed in two ways
a) Bedded Fixing
Lay a continuous bed of mortar prepared using PRF(pigmented ridge fixing) mix and sand in recommended proportion along the top course of tiles on each side of the ridge. Keep ridges one by one on the mortar bed and press down gently. Straightness of the ridge line course to be ensured using a thread/string line. Reduce the amount of mortar to prevent cracking. Complete the pointing and remove all debris immediately.
b) Dry Fixing
Fix a Timber batten along the ridge apex, considering the required lift of the ridges required. Lay the Ridge Roll along the centre line of the Hip and press the edge of the hip roll neatly onto tiles. Lay the ridges and nail it to the batten. Screws should be penetrated by 25mm into the batten. Ridges should be fixed at Hips and other areas in case of high exposure Hip starters should be mechanically fixed to the Roof deck to prevent the tiles sliding down
6. Valleys
Two support reepers are made/ fixed to enable the valley sheets to be set level Outside edges of the valley should be raised and folded to avoid leakages Tiles above the valley sheet to be cut in a very close cut manner as shown in the picture. This is to minimize the water gushing through the valley sheet and also to avoid tree leaves to fall on the valley sheet and eventually clogging the water to drain through the valley area.

General Information: Pionnier tiles can be laid easily on Primary Roof (Trussed roof) or Secondary roof (Concrete Slab) as shown in the picture below.
The Pionnier Roof tiles laid on Steel Truss roof.
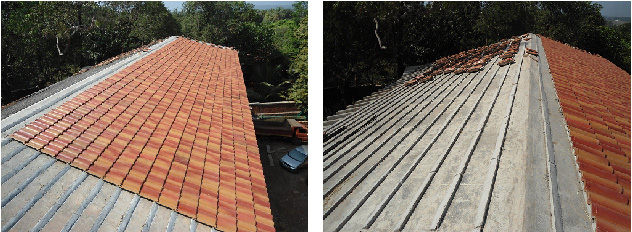
The Pionnier Roof tiles laid on RCC Slab.